Follow the steps below to add Opportunity Manager® components to the Lead object within a http://Salesforce.com Lightning instance.
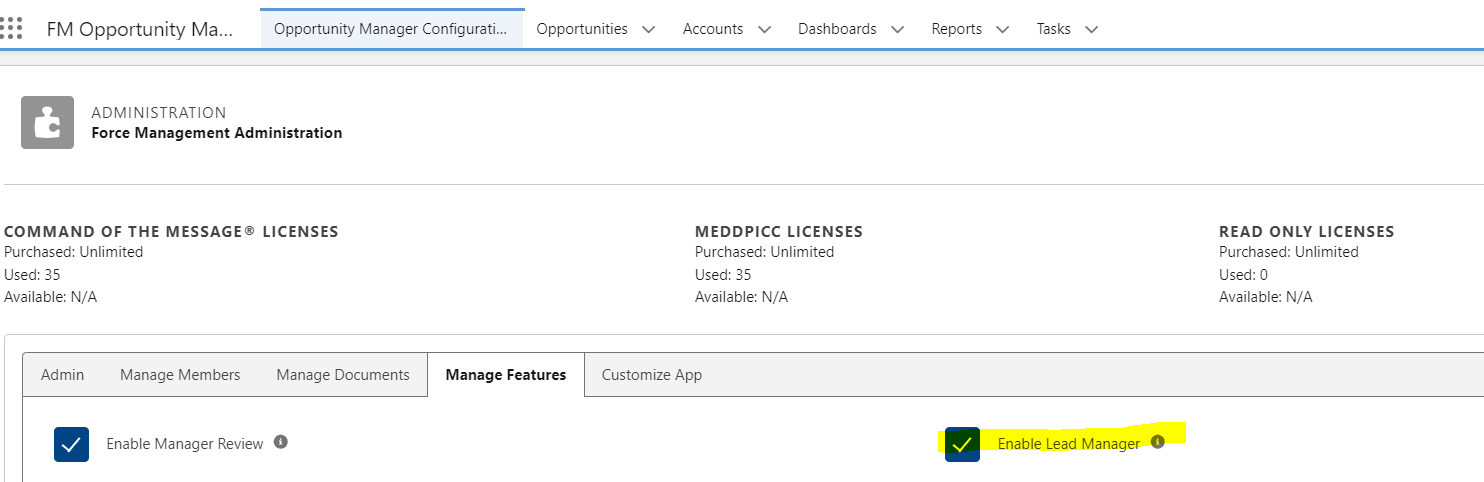
⭐ Start by enabling Opportunity Manager on the Lead object from the “Opportunity Manager Configuration Tab” like shown in the screenshot below.
The Opportunity Manager app includes five Lightning components:
-
Opportunity Value Card (Command of the Message® methodology only)
-
MEDDPICC Qualifier (MEDDPICC methodology only)
-
Opportunity Manager Alerts
-
Guided Assessment Score
-
Engagement Document Links (Quick Links)
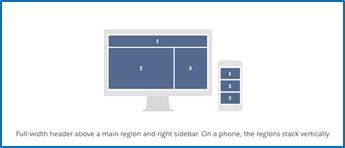
All components are intended for use on an Opportunity Lightning Page using a main region and one sidebar.
To add these Lightning Components to the Lead Object:
-
From a Lead Record navigate to the gear icon and click “Edit Page”.
-
On the Components Menu, scroll to the bottom section Custom.
-
Drag and drop the Force Management Opportunity Manager app Lightning Components onto the page to create your desired setup.
Recommended Page Setup
Force Management recommends the following setup in order to maximize your implementation of the Opportunity Manager. Keep in mind that this is just a recommendation and you may decide to implement these components in a different manner if it better supports your current selling motion.
Opportunity Value Card and MEDDPICC Qualifier
We recommend creating a new tab for both the Opportunity Value Card and MEDDPICC Qualifier components. To create a new tab, follow these instructions:
-
From any Lead Page, navigate to the gear icon in the upper right-hand corner and click “Edit Page”. You will then be taken to the Lead Record Page ****editor.
-
Next, click on the “Tabs” component typically located in region 2 in the graphic above.
-
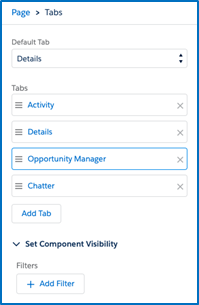
Once you’ve done this, you should see the following options (or something similar) located on the right-hand side of the window.
-
Click on the “Add Tab” button. This will allow you to create a new tab which will be visible on the Lead Record page. By default, the new tab will be added to the end of the list of current tabs. The name of this new tab will be dependent on what your Default tab is set to.
-
In order to rename this tab, left-click on the tab name. You will be provided with a drop-down menu to select a tab name. Click the arrows to select from the list. At the top of the list, you should see an option for “Custom”. Select this, and then in the Custom Label textbox enter “Opportunity Manager”. Then select “Done”. You should now see the new tab listed under the Tabs section labeled “Opportunity Manager”.
-
You can reposition the Opportunity Manager tab among the existing tabs by clicking on the button and dragging the tab up or down.
-
Next, let’s add the following three (3) components to the new Opportunity Manager tab. Start by clicking on the tab itself, located on the main region of the Lead Record Page.
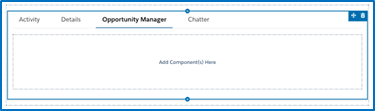
-
In this order, click and drag the following components from the Custom–Managed list of components on the left-hand side of the Opportunity Record Page:
-
Opportunity Manager Alerts
-
Opportunity Value Card
-
MEDDPICC Qualifier
-
-
Next, we’ll add the Guided Assessments to the right-hand sidebar on the Lead Record page. Click and drag the following component from the Custom–Managed list of components and place them on the right-hand sidebar above the Related component:
-
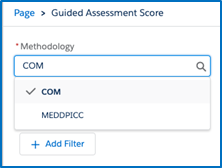
Guided Assessment Score
-
💡 If you are implementing BOTH Command of the Message® and MEDDPICC, drag this component over twice, then click on the component to select the appropriate methodology you’d like this component to support.
-
Finally, we’ll add the final component to the Lead Record Page, the Engagement Document Links (Quick Links). Click and drag the Engagement Document Links component from the Custom–Managed list of components and place them on the right-hand sidebar directly below the Guided Assessment component(s).
-
Click “Save” to finish
Move on to setup the Custom Metadata drop-downs: